
Create a Connection
A connection is one API you're exposing to AI clients. Creating one runs a five-step wizard — and the same five steps apply whatever identity model you choose. Only Step 3 differs.
Before starting, check Prerequisites.
The five steps
| Step | What it does | Differs by model? |
|---|---|---|
| 1 · Identity model | Choose how your users are recognised | — |
| 2 · Domain verification | Prove you control your domain | No |
| 3 · Identity setup | Configure that identity model | Yes |
| 4 · Provision | LockMCP sets up the connection | Slightly |
| 5 · Activate | Go live | No |
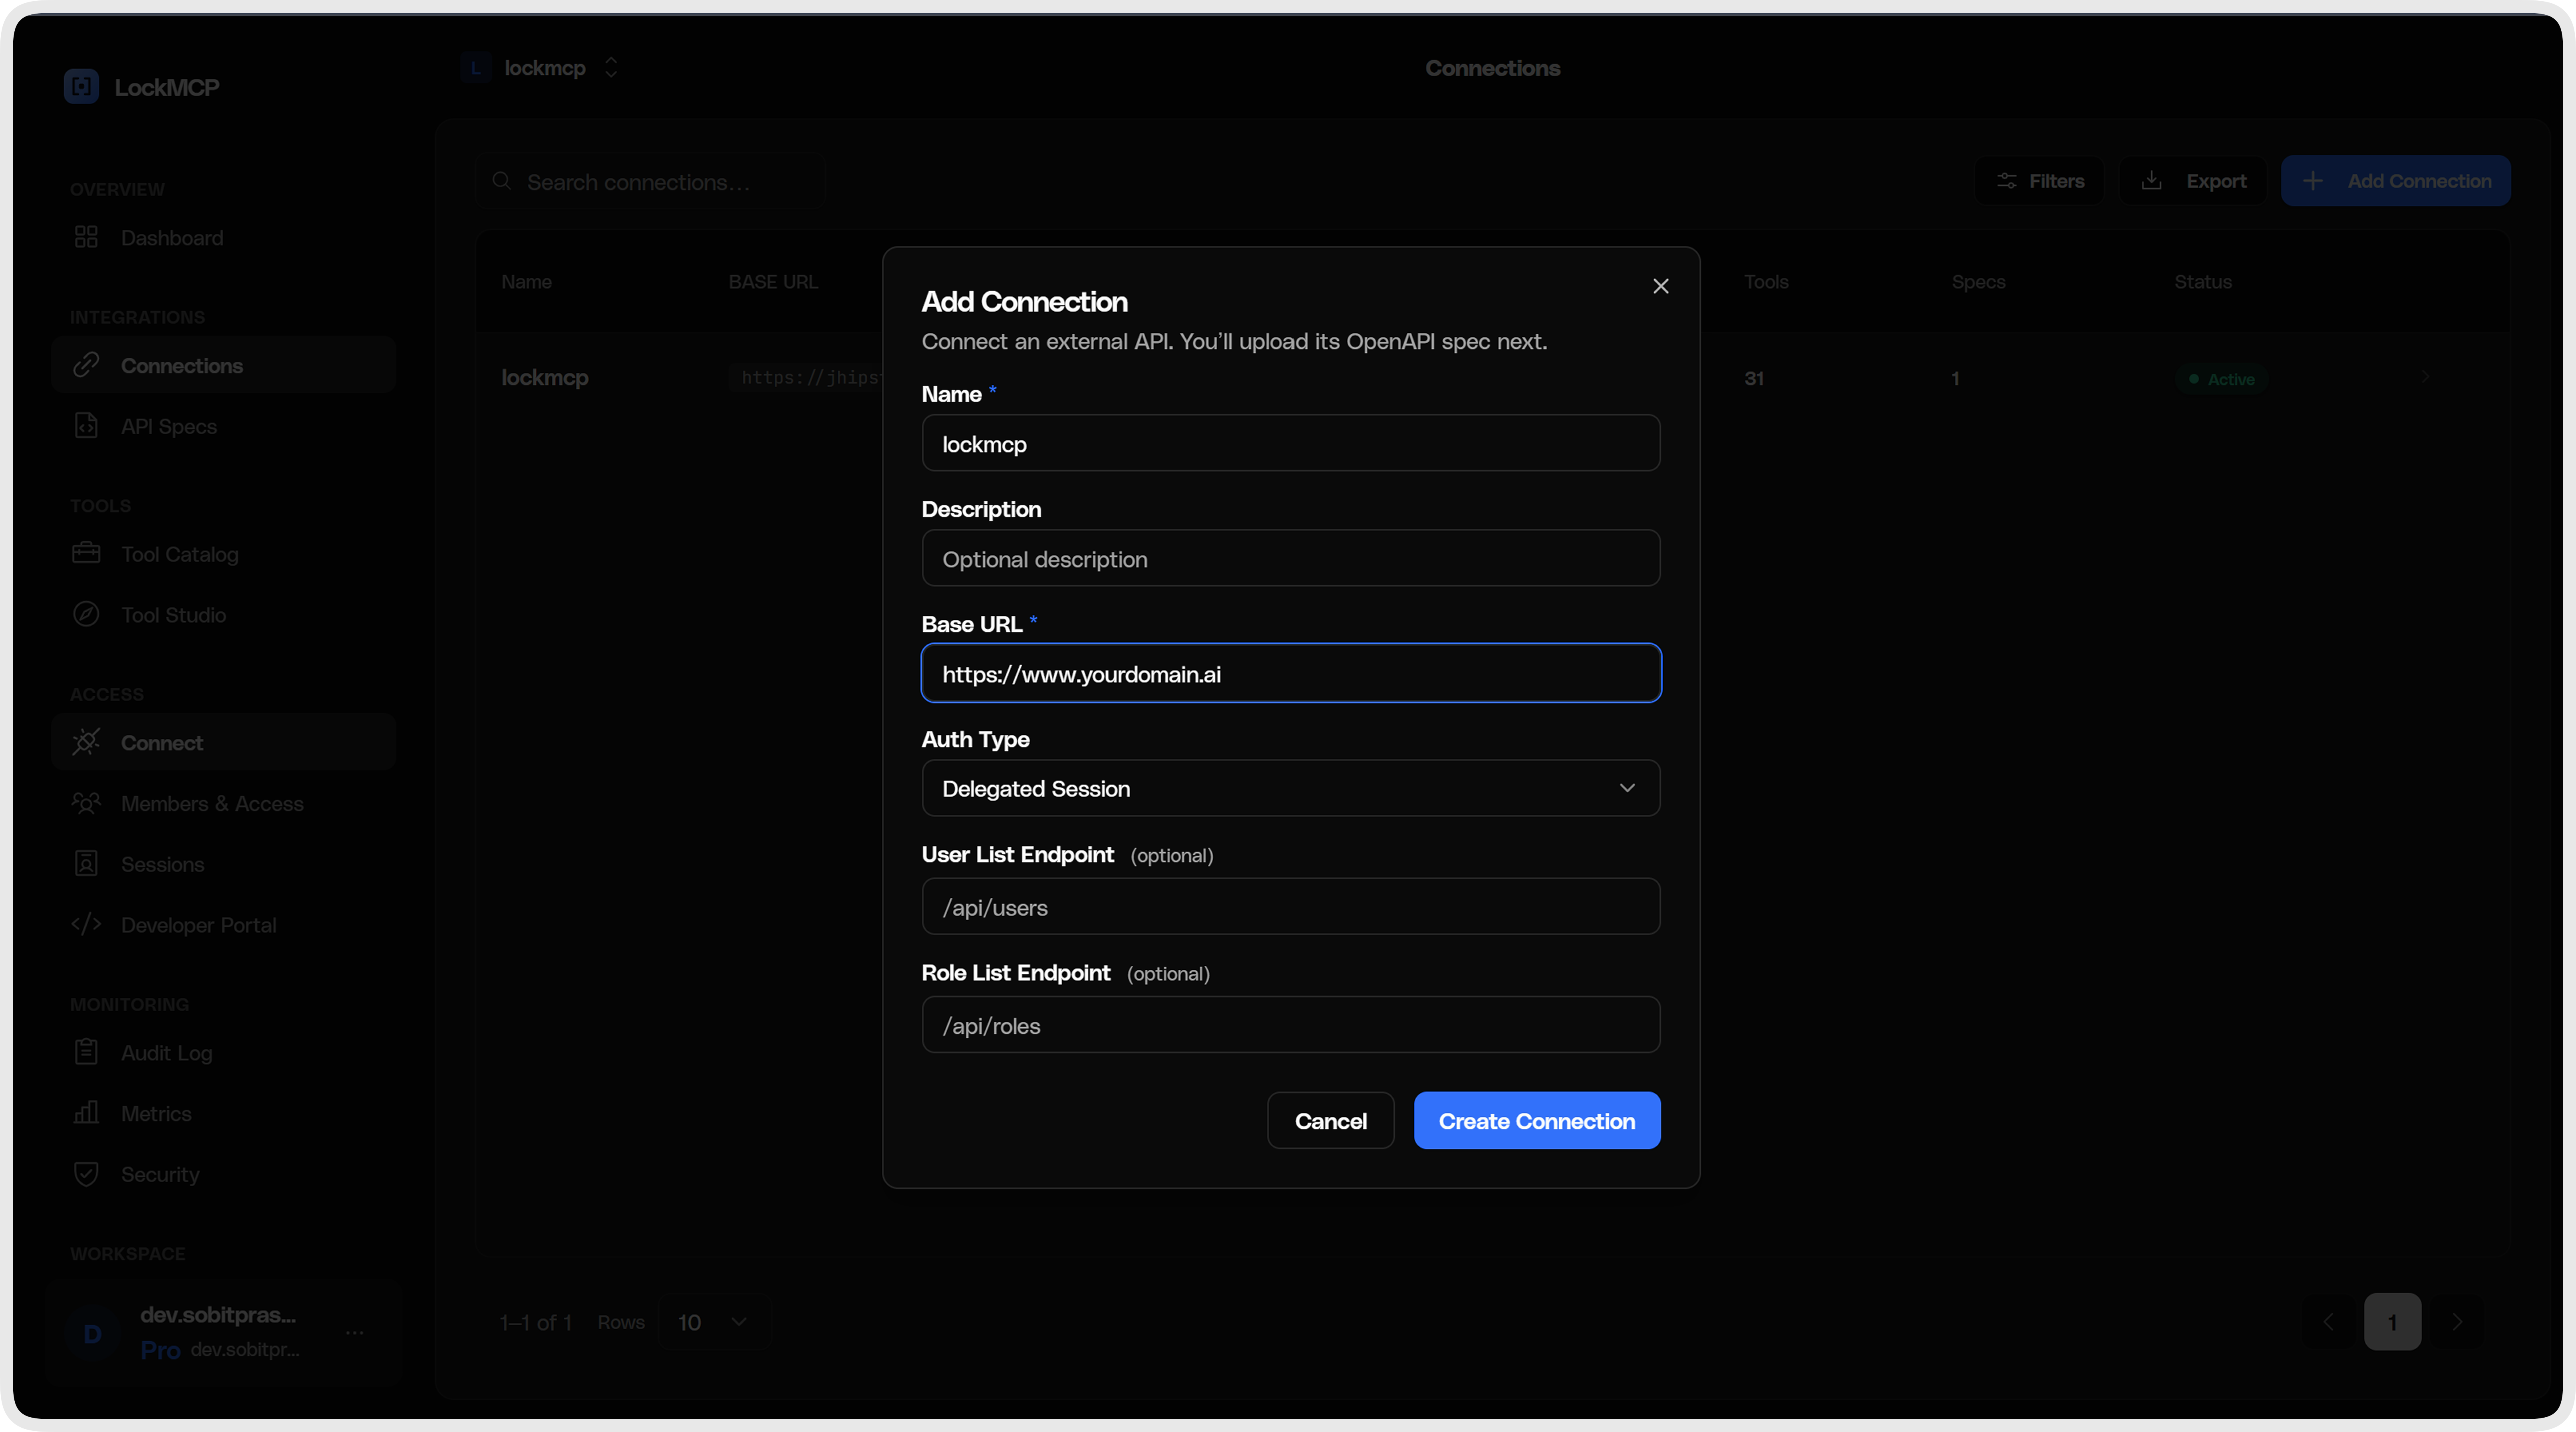
Find it at Dashboard → Connections. Create a connection, then open it to reach the wizard.
Step 1 — Identity model
Pick how your users prove who they are.
| Model | Setup required |
|---|---|
| Identity Brokering | None |
| Token Exchange | Two URLs |
| Tenant Delegated | Endpoints + login page |
The wizard pre-selects a suggestion based on your connection's auth type. Override it if the suggestion isn't what you want — see Choosing an Identity Model.
Step 2 — Domain verification
Prove you control the domain your API lives on. This gates Step 4 — provisioning won't run until it passes, for every identity model.
Two methods:
| Method | How |
|---|---|
| DNS TXT record | Add the record the wizard shows to your domain's DNS. Propagation takes minutes to hours. Check with dig TXT yourdomain.com. |
| Well-known file | Serve the token the wizard gives you at the path it shows. It must return the raw value with a 200 — not a redirect, not an HTML page. |
If verification won't pass, the two usual causes are DNS propagation delay, and DNS providers that auto-append your domain — entering the full record name again produces a doubled name that won't match.
Step 3 — Identity setup
The only step that differs. What you do here depends entirely on Step 1:
| Model | What Step 3 asks for |
|---|---|
| Identity Brokering | Nothing. The step confirms users sign in through LockMCP. → details |
| Token Exchange | Your JWKS URI and Issuer URI, then Save. → details |
| Tenant Delegated | Login, Exchange and Validate URLs, the HMAC key, and role mapping. Use Test endpoints before continuing. → details |
Step 4 — Provision
Click Provision. LockMCP sets up everything the connection needs.
For Identity Brokering and Token Exchange, this creates the connection's identity resources — its clients, its roles, and the claims that let LockMCP authorise tool calls. Token Exchange additionally registers your identity provider.
For Tenant Delegated, this instead runs a seven-check certification suite against your endpoints — actually exercising the login, exchange and validate sequence. All seven must pass.
Provisioning is idempotent, so re-running it after fixing a problem is safe.
If it fails
The error names what's missing:
| Message | Fix |
|---|---|
Verify the connection's domain before provisioning | Step 2 hasn't passed. |
Configure the JWKS URI and Issuer URI before provisioning | Token Exchange Step 3 is incomplete — fill both fields and Save. |
Configure the login/exchange/validate URLs and generate an HMAC key first | Tenant Delegated Step 3 is incomplete. |
A checkName: message list | Certification failures. See Tenant Delegated Troubleshooting. |
For Token Exchange, the identity-provider registration step is non-fatal — provisioning can report success even if your IdP couldn't be registered. A green Step 4 doesn't by itself prove sign-in will work. See Token Exchange Troubleshooting.
Step 5 — Activate
Flips the connection live. Until you do this the data plane won't serve tools, even with provisioning complete.
After the wizard
The connection is live but has no tools yet. To finish:
- Upload your OpenAPI spec → API Specs. LockMCP generates a draft tool per operation. See Writing OpenAPI Specs.
- Refine the tools → Tool Studio. Names and descriptions are what the AI reads to decide when to use a tool. See Tool Studio.
- Publish them → Tool Catalog. Drafts are never served. See Tool Catalog.
- Grant role access → decide which roles may call which tools. See Assigning Tool Access.
- Invite your team → Members & Access. See Inviting Members.
- Connect an AI client → Connect. See Connecting AI Clients.
Step 4 catches people out: a published tool with no role granted access is invisible to everyone but admins. If you're testing as the workspace admin everything looks fine — then your team reports no tools. Check role access before assuming something's broken.
Connection status
The status badge tracks progress:
| Status | Meaning |
|---|---|
| Intake | Created, wizard not started |
| Pending verification | Awaiting domain verification |
| Provisioning | Provisioning under way |
| Provisioned | Ready to activate |
| Active | Live and serving tools |
| Disabled | Turned off; stops serving immediately |
Only Active connections serve tools.
Multiple connections
A workspace can hold as many as you need, each with its own identity model, credentials, tools and MCP endpoint. Common reasons to add another:
- Separate APIs (billing vs. support)
- Different audiences — an internal Identity Brokering connection alongside a customer-facing Tenant Delegated one
- Staging separated from production
Each runs the same five steps independently.
Where to go next
- Identity Brokering · Token Exchange · Tenant Delegated
- Writing OpenAPI Specs — turning your API into tools
- Troubleshooting — when a step won't pass